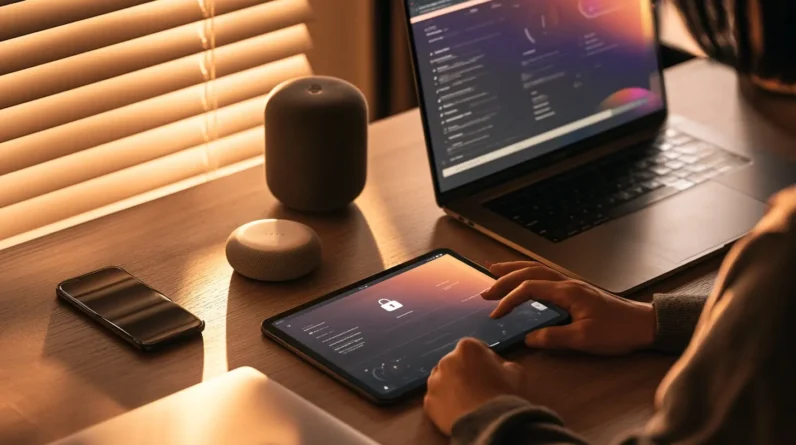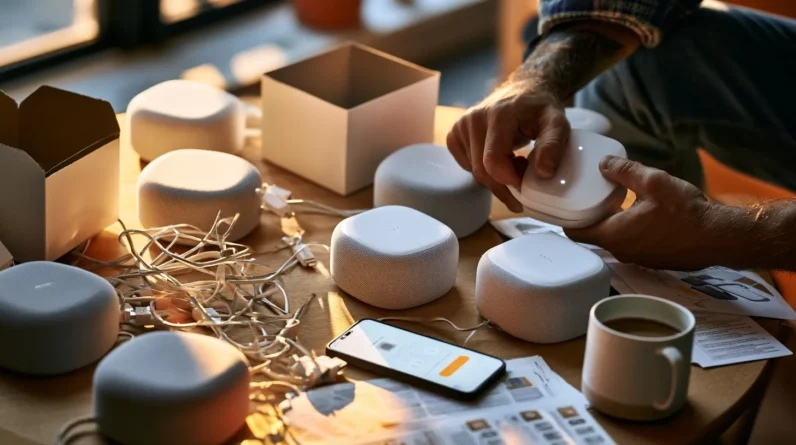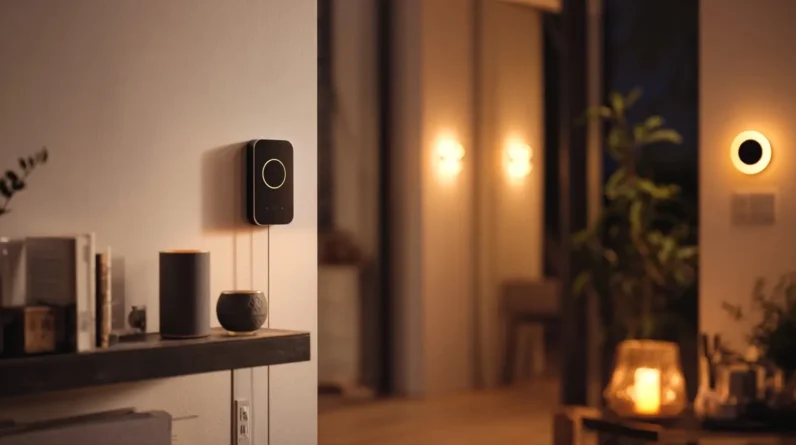



We start by picking a hub that matches our existing devices’ protocols—Zigbee, Z-Wave, Wi-Fi, or Thread. Next, we connect everything to a dedicated 2.4GHz network, keeping our phone on the same band during pairing. We pair smart plugs and bulbs first, then tackle thermostats and cameras. Finally, we build two or three reliable routines before scaling up. Stick with us, and we’ll walk through each step in detail.
Pick the Right Smart Home Hub for Your Needs
The hub sits at the center of every connected home, so we need to choose it before adding a single smart bulb or sensor. We start by checking hub compatibility with our existing devices—Zigbee, Z-Wave, Wi-Fi, or Thread protocols determine what we can actually connect. Next, we weigh budget considerations against long-term value; a cheaper hub often means limited device support down the road. We also examine the user interface, since a clunky app undermines daily control and troubleshooting. Ecosystem integration matters too: if we’re already invested in Apple, Google, or Amazon platforms, we pick a hub that syncs natively rather than fighting compatibility gaps. Finally, we confirm device support scales with our plans—more sensors, cameras, and switches shouldn’t require a hub swap later.
Connect Your Devices to Wi-Fi Without the Headaches
Once we’ve settled on a hub, we’re ready to tackle the network layer that actually carries our commands. We start with device compatibility checks: confirm each gadget supports 2.4GHz (most smart devices do) rather than 5GHz-only bands, since range and wall penetration matter more than raw speed here. Next, we create a dedicated IoT network or SSID—this isolates smart devices from our main traffic and simplifies troubleshooting later.
When pairing devices, we keep our phone on the same band we’re connecting the gadget to, disable VPNs temporarily, and place the router centrally before adding extenders.
For troubleshooting tips, we reset stubborn devices to factory settings, verify firmware’s current, and check router logs for rejected connections. These steps eliminate 90% of pairing failures before they start.
Set Up Smart Plugs, Bulbs, and Switches First
With our network sorted, we start with three device types that deliver the fastest wins: smart plugs, bulbs, and switches. We plug in the smart plug first, since it requires zero wiring and confirms our app-to-device pairing works before we tackle anything permanent. We check smart plug features like energy monitoring and scheduling, then test them through the app.
Next, we screw in our smart bulbs, verifying bulb compatibility with our fixtures’ wattage and dimmer requirements beforehand—mismatched dimmers cause flickering we’ll troubleshoot later otherwise. We pair each bulb individually, naming it by room and function immediately.
Finally, we install smart switches for fixtures we can’t easily swap. We turn off power at the breaker, connect the load and line wires per the included diagram, then restore power and pair.
Add a Smart Thermostat and Security Camera Next
Since our quick-win devices are humming along, we move to the smart thermostat, starting by checking our HVAC system’s compatibility—specifically the C-wire requirement, since many older systems lack one and need an adapter kit. Once we’ve confirmed compatibility, we mount the thermostat, connect it to Wi-Fi, and calibrate temperature control settings to match our daily schedule.
Next, we tackle the security camera. Placement matters here—we’re aiming for coverage without blind spots.
Our installation checklist looks like this:
- Mount the camera at entry points, angled to avoid glare
- Pair it with our hub app
- Enable motion alerts and safety features like night vision
- Test the live feed for lag or dead zones
With both devices live, we’ve added real-time environmental control and vigilant monitoring—no more guessing what’s happening at home.
Create Simple Automations That Save You Time
Now that our thermostat and camera are online, we can start connecting them into automated routines instead of managing each device manually. We’ll build these through our smart assistants, using triggers like time, location, or sensor activity. Device scheduling lets us assign specific actions to specific hours, so we’re not manually adjusting settings every day.
| Automation Trigger | Resulting Action |
|---|---|
| Sunset | Camera switches to night mode |
| Leaving home | Thermostat drops to eco setting |
| Arriving home | Lights turn on, thermostat adjusts |
| 10:00 PM | Doors lock, cameras arm |
| Motion detected | Push notification sent |
For time saving tips, we recommend starting with two or three routines, testing their reliability, then layering in complexity once we’ve confirmed consistent performance across our connected devices.
Frequently Asked Questions
What Happens to My Smart Devices if the Internet Goes Down?
We’re keeping your hub-connected devices running through local automation, since most protocols like Zigbee or Z-Wave process commands on-site. You’ll lose cloud features and remote access, but offline functionality preserves core triggers, schedules, and device-to-device communication seamlessly.
Can I Control Smart Home Devices Without a Smartphone?
Yes, we can! We recommend using dedicated voice control hubs, physical remote access panels, or standalone touchscreen controllers. These devices let us configure automations, adjust settings, and manage connectivity entirely independent of smartphone apps.
How Do I Protect My Smart Home From Hackers?
We secure networks, we enable smart security protocols, we verify device encryption. Update firmware regularly, segment your network with VLANs, disable unused ports, and enforce strong, unique passwords across every connected device you own.
Will Smart Devices Work With Alexa and Google Assistant Simultaneously?
Yes, we can run both simultaneously if we verify smart assistant compatibility during setup. We’re configuring voice command integration separately for each platform, assigning device names and permissions individually to avoid conflicts and guarantee reliable dual-assistant control.
What’s the Average Cost to Fully Automate a Home?
Studies show 68% of users exceed initial estimates—we recommend budgeting $2,000-$15,000+ for full automation. Automation expenses vary by device tier and integration complexity. We suggest phased budget planning, prioritizing hubs and sensors before scaling toward extensive whole-home control systems.
Conclusion
We’ve now built a fully functional smart home: hub configured, Wi-Fi stabilized, plugs and bulbs online, thermostat and camera integrated, and automations running smoothly. We don’t need to be a Victorian telegraph operator to appreciate how far home tech’s come—just a few taps replace what once took manual switches and dials. Test each automation, verify device responsiveness, and you’re set. Enjoy your streamlined, connected space.