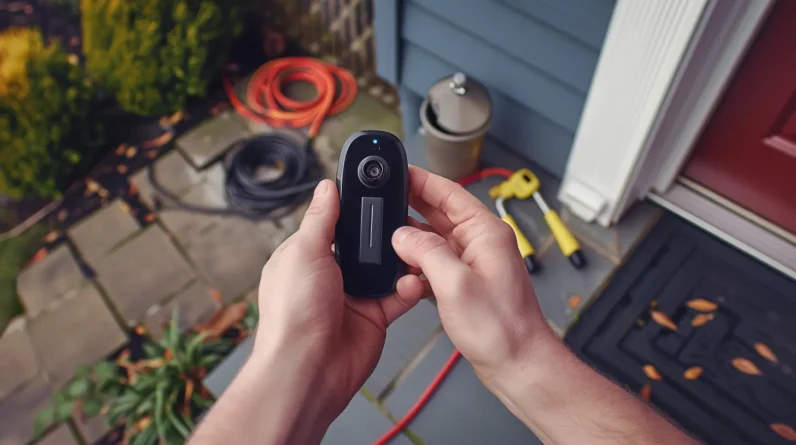
We’re about to transform our homes’ entry points with a smart doorbell, and with the right installation and configuration, we’ll be able to capture crisp video, receive timely notifications, and even deter potential burglars. First, we’ll identify the ideal spot for our doorbell, considering factors like visibility, power needs, and Wi-Fi connectivity. Next, we’ll mount and wire our doorbell, ensuring a solid connection.
Then, we’ll set up Wi-Fi connectivity and configure video and audio settings for best performance. We’ll customize our notifications and alerts to stay informed of important events. Now, let’s get started and uncover the full potential of our smart doorbell.
Choosing the Right Installation Spot
We need to identify a location on our porch or near our front entrance that offers the best view of visitors, while also safeguarding our smart doorbell from the elements and potential vandalism. This specific area should have an unobstructed line of sight, ideally positioned between 3-4 feet above the ground, to capture visitors’ faces effectively. We must also take into account the doorbell’s power needs and its proximity to our Wi-Fi router.
A location with minimal obstacles and interference will guarantee a strong connection. Moreover, we should steer clear of spots with direct sunlight, heavy rain, or extreme temperatures, as these can impact the doorbell’s performance. By selecting the appropriate location, we will maximize our smart doorbell’s capabilities and ensure a smooth installation.
Mounting and Wiring Your Doorbell
With our ideal installation spot identified, it’s time to physically mount and wire our smart doorbell, an important step that requires attention to detail to guarantee a secure and functional setup. We’ll start by attaching the mounting bracket to the door frame using the provided screws, making certain it’s level and secure. Next, we’ll connect the doorbell wires to the existing doorbell wiring, following the manufacturer’s instructions for proper polarity.
We’ll also link the power wires to the transformer, securing a safe and reliable power supply. Finally, we’ll mount the doorbell unit to the bracket, securing it with the screws provided. Throughout this process, we’ll double-check our work to secure a solid and reliable connection.
Setting Up Wi-Fi Connectivity
To establish a reliable and stable internet connection, our smart doorbell requires a seamless Wi-Fi setup. We’ll connect our doorbell to our router using the provided Wi-Fi adapter. First, we’ll power on the doorbell and wait for the LED light to flash, indicating it’s in pairing mode. Next, we’ll open our router’s Wi-Fi settings and select the doorbell’s network name. We’ll then enter the password provided in the doorbell’s manual. Once connected, we’ll download and install the doorbell’s app on our smartphone or tablet.
The app will guide us through the final setup process, including naming our doorbell and setting up notifications. With these steps, we’ll have a secure and stable Wi-Fi connection, enabling us to receive doorbell notifications and access video feeds remotely.
Configuring Video and Audio Settings
Now that our smart doorbell is connected to our Wi-Fi network, its video and audio capabilities need to be fine-tuned for best performance. We’ll start by adjusting the video settings. In the app, we’ll navigate to the ‘Video’ section and select the desired resolution, frame rate, and field of view. We can also enable features like night vision, motion detection, and object detection. Next, we’ll optimize the audio settings.
We’ll adjust the microphone sensitivity and speaker volume to ensure clear two-way communication. Moreover, we can set up alerts for when someone presses the doorbell or when motion is detected. By fine-tuning these settings, we’ll get the most out of our smart doorbell’s video and audio capabilities.
Customizing Notifications and Alerts
We personalize our smart doorbell’s notification system to our preferences by specifying the types of events that trigger alerts, such as motion detection, doorbell presses, or package deliveries. We can choose to receive notifications on our smartphones, tablets, or even smartwatches. We also set up custom alert zones, which allow us to focus on specific areas of our property, like the front porch or backyard. Furthermore, we can adjust the sensitivity of motion detection to minimize false alerts.
By customizing these settings, we ensure that we’re only notified of important events, reducing unnecessary distractions. With our notification system fine-tuned, we’re always aware of what’s happening at our doorstep.
Conclusion
With seamless setup steps behind us, savvy smart doorbell owners can savor sophisticated surveillance, sleekly synchronized with smartphones. Configured correctly, clever cameras capture crystal-clear footage, while customizable notifications keep us consistently connected. Now, effortlessly enjoy enhanced entryway awareness, elevated security, and effortless entertainment, all at our fingertips.


